Identity and Access Management is the security foundation of every AWS account. Before you provision a single EC2 instance, launch a database, or configure a VPC, you need to understand who has access to what — and more importantly, why that access was granted.
To build on this essential security layer, this guide walks through the complete
IAM setup process for a real-world AWS environment: creating an account alias, provisioning a console user, organizing access through groups using the Principle of Least Privilege, enabling billing access, and setting up a programmatic user for CLI-based automation.
Importantly, this is not a theoretical overview. Each step maps directly to tasks you will perform as a Cloud Architect or DevOps engineer working in AWS.
IAM Overview: What You See First
When you open the IAM Dashboard, two things immediately demand your attention.
The first is a security recommendation: add MFA for the root user. Do this before anything else. The root user has unrestricted access to all services and billing resources in your account. It should never be used for day-to-day work, and it must be protected with multi-factor authentication.
The second is a set of pre-existing IAM resources that give you a sense of what’s already in place:
- Roles — such as
AWSServiceRoleForTrustedAdvisor, which AWS creates automatically
- Policies — including the built-in
AdministratorAccess and ReadOnlyAccess managed policies.
While these defaults are a good starting point, remember that the real work is in structuring access for your team.
Creating an Account Alias
By default, the AWS Management Console login URL looks like this:
https://123456789012.signin.aws.amazon.com/console
That 12-digit account ID is not something your team will memorize. Creating an account alias replaces it with a human-readable name.
In the IAM Dashboard, navigate to Account Alias → Create, and set a preferred alias. The convention used here is kb-YOUR NAME — for example, kb-cloudarchitect.
One critical constraint: account aliases are globally unique across all of AWS. If the alias is already taken, you need to choose another. Once set, your console login URL becomes:
https://kb-cloudarchitect.signin.aws.amazon.com/console
This is the URL you distribute to IAM users, not the root user login, which remains separate.
Creating a Console IAM User
The root user should be reserved for account-level tasks, such as setting up billing, closing the account, or recovering access. All daily operations, including administration, should be performed through IAM users.
Step-by-step: Creating kb-admin
Go to IAM → Users → Create user and configure the following:
User name: kb-admin
Enable “Provide user access to the AWS Management Console.” This provides the user with a password-based login to the web console.
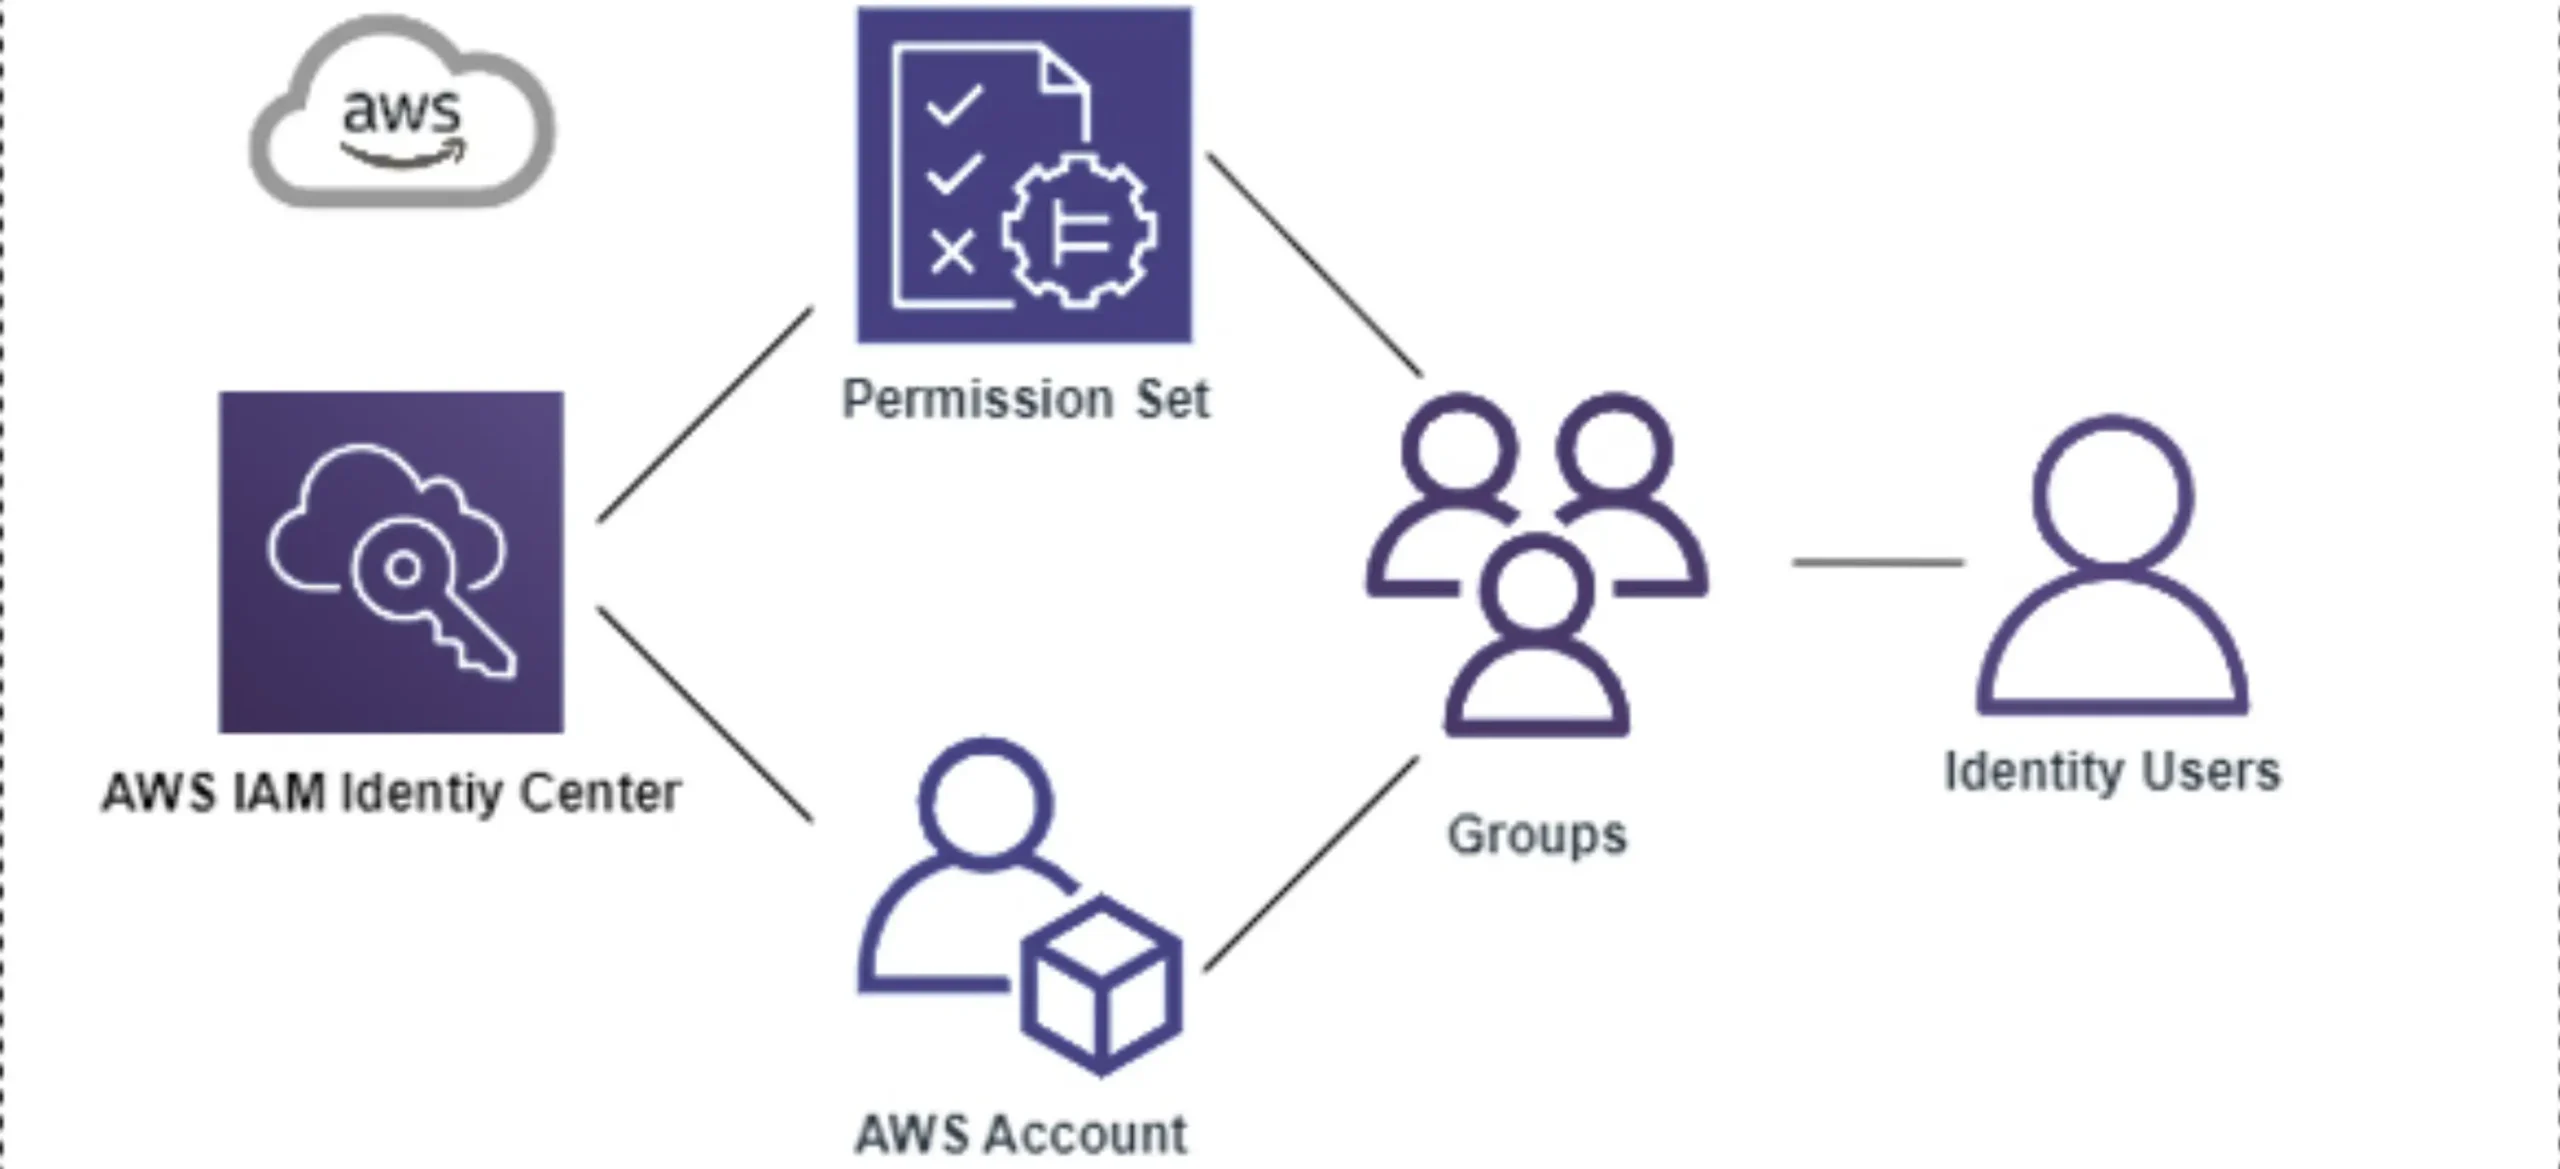
For user type, select “I want to create an IAM user”. (The alternative, AWS Identity Center, is designed for organizations managing access across multiple AWS accounts and cloud applications, a different use case that we will cover separately.)
Password settings:
- Use an autogenerated password.
- Enable “Users must create a new password at next sign-in” — this is the recommended setting, as it forces the user to establish their own credentials on first login.
Permissions: Attach the AdministratorAccess policy directly for this admin user.
After creation, you receive the console sign-in URL, username, and temporary password. Download the .csv file immediately. This is the only time the temporary password is shown.
Testing the New User and Discovering a Permission Gap
Open an incognito or private browser window, navigate to your account alias login URL, and sign in as kb-admin. Explore EC2, S3, and RDS — access works as expected for an administrator.
Then go to Cost and Usage.
You will see: “You don’t have permission to perform this action.”
This is intentional and reveals something important about AWS’s security architecture.
AdministratorAccess does not automatically grant access to the Billing console. Billing access is controlled separately by the root user, regardless of what IAM policies are attached. This is a deliberate design: billing information is sensitive at the organizational level, and AWS requires the root user to explicitly activate IAM access to billing before any IAM user, even an administrator, can view it.
Enabling Billing Access for IAM Users
To grant IAM users access to billing information, you need to take two steps:
Step 1 — Activate IAM access to billing (performed as the root user):
Go to: https://console.aws.amazon.com/billing/home#/account
Under IAM user and role access to Billing information, activate the setting. This is a one-time account-level configuration.
Step 2 — Attach a billing policy to the user or group:
Policies such as AWSBillingReadOnlyAccess grant read access to cost and usage data without allowing modifications.
Since kb-admin already has AdministratorAccess, step 2 is effectively covered. Full billing access is granted once the root user activates it at the account level.
Allow up to 5 minutes after activating billing access for the permission to propagate.
This exercise demonstrates why understanding the distinction between the root user and IAM users is not just academic; it has direct operational consequences.
Creating IAM User Groups: The Principle of Least Privilege
Managing permissions user-by-user does not scale. In a real environment with dozens or hundreds of users, attaching policies individually creates an unmanageable and error-prone system.
The solution is IAM User Groups, combined with the Principle of Least Privilege (PoLP).
The Principle of Least Privilege states that a user should have access only to what is strictly necessary to perform their responsibilities and nothing more. The broader the access, the greater the potential damage if an account is compromised or misused.
Group Structure for a Cloud Environment
Here is a practical group structure for a technology organization:
| Group |
Policy |
Purpose |
CloudAdmin |
AdministratorAccess |
Full AWS access for cloud architects |
DBA |
AmazonRDSFullAccess |
Database administrators — RDS only |
LinuxAdmin |
AmazonEC2FullAccess |
Infrastructure team — compute only |
NetworkAdmin |
AmazonVPCFullAccess |
Networking team — VPC only |
Employee |
ReadOnlyAccess |
General staff — read access to all services, no write |
Notice the intentional scoping: a DBA has no reason to manage VPCs. A network administrator has no reason to modify databases. Each group’s permissions are precisely calibrated to the job function it represents.
Creating Groups in IAM
Go to IAM → User Groups → Create group, set the group name, and attach the corresponding managed policy. Repeat for each group.
To add a user to a group, open the group and click Add users. e.g, adding kb-admin to the CloudAdmin group inherits AdministratorAccess through group membership rather than a direct policy attachment.
Creating Custom Policies
AWS managed policies cover most standard use cases, but real environments often have unique requirements.
Go to IAM → Policies → Create Policy and use the visual editor or JSON to define precise permissions.
For example, if your organization uses Amazon WorkMail, you can create a policy that grants access to WorkMail specifically without granting access to any other messaging or communication services. Custom policies follow the same allow/deny logic as managed policies, and they can be attached to users, groups, or roles.
The key principle: every policy should be created with a specific business requirement in mind, not as a general grant of convenience.
Creating a Programmatic User for CLI Access
Console access is one dimension of AWS access. The other is programmatic access, the ability to interact with AWS resources via the CLI, SDKs, or automation tools.
Programmatic users do not log into the console. They authenticate using an Access Key ID and a Secret Access Key.
Step-by-step: Creating kb-automation-admin
Go to IAM → Users → Create user.
User name: kb-automation-admin
Do not enable console access. This user is for automation only.
Permissions: Attach IAMFullAccess — appropriate for a user whose purpose is to manage IAM resources programmatically.
Generating Access Keys
After creating the user, go to the profile → Security credentials → Access keys → Create access key.
For use case, select Command Line Interface (CLI). Acknowledge the recommendation notice and proceed.
You receive:
- Access Key ID — analogous to a username
- Secret Access Key — analogous to a password
Download the .csv immediately. The Secret Access Key is shown only once and cannot be retrieved after this screen.
Configuring and Testing AWS CLI Access
With access keys in hand, configure the AWS CLI on your workstation:
aws configure
You will be prompted for:
- AWS Access Key ID: paste the key ID
- AWS Secret Access Key: paste the access key
- Default region: us-east-1
- Default output format: json
Validate the configuration:
aws configure list
aws sts get-caller-identity
get-caller-identity returns the account ID, user ID, and ARN of the currently authenticated user — essential for confirming which identity the CLI is using before running any commands.
Testing Permissions
# IAM operations — should work with IAMFullAccess
aws iam list-users
aws iam list-groups
aws iam list-groups-for-user --user-name kb-admin

# EC2 — will return access denied with IAMFullAccess only
aws ec2 describe-instances

# S3 — will return access denied with IAMFullAccess only
aws s3 ls
This is PoLP in action: kb-automation-admin can manage IAM resources but cannot access compute or storage services, because those permissions were never granted.
Creating and Deleting an S3 Bucket via CLI
To test S3 access (after adjusting permissions if needed):
# Create a bucket
aws s3 mb s3://your-full-name-bucket

# List buckets
aws s3 ls

# Delete a bucket and all contents
aws s3 rb s3://your-full-name-bucket --force
Reverting to Temporary Credentials
In AWS CloudShell or environments that use temporary credentials (such as IAM roles assumed by EC2 instances or services), you may want to revert from configured access keys to the original temporary credentials.
The fast way is to delete the AWS credentials directory:
# Remove stored credentials
Action > Delete AWS home directory
After this, CLI commands will fall back to the environment’s temporary credential chain:
aws sts get-caller-identity   # Confirms which identity is active
aws configure list             # Shows credential source
printenv | grep AWS            # Checks environment variables
This is particularly relevant in CI/CD pipelines and automated environments, where hardcoded access keys should never be used; IAM roles and temporary credentials are always the correct approach.
Conclusion
Building your AWS IAM structure correctly from the start is the single highest-leverage security investment you can make before any workload goes to production. Never use the root user for daily operations; create IAM users and immediately protect the root account with MFA; and use Account aliases to replace numeric account IDs in console login URLs from day one. AdministratorAccess alone does not grant Billing access; you must first enable IAM user access to billing in the Billing preferences using the root account, then attach an IAM policy allowing billing access to the relevant users. User groups enforce the Principle of Least Privilege at scale. When managed policies don’t fit your exact business requirements, build your own Custom policies. Programmatic users authenticate via access key pairs and never hardcode them in code repositories or share them; use IAM roles and temporary credentials wherever possible. aws sts get-caller-identity is your first debugging command when CLI behavior doesn’t match expectations, and always confirm which identity is active before troubleshooting further.