
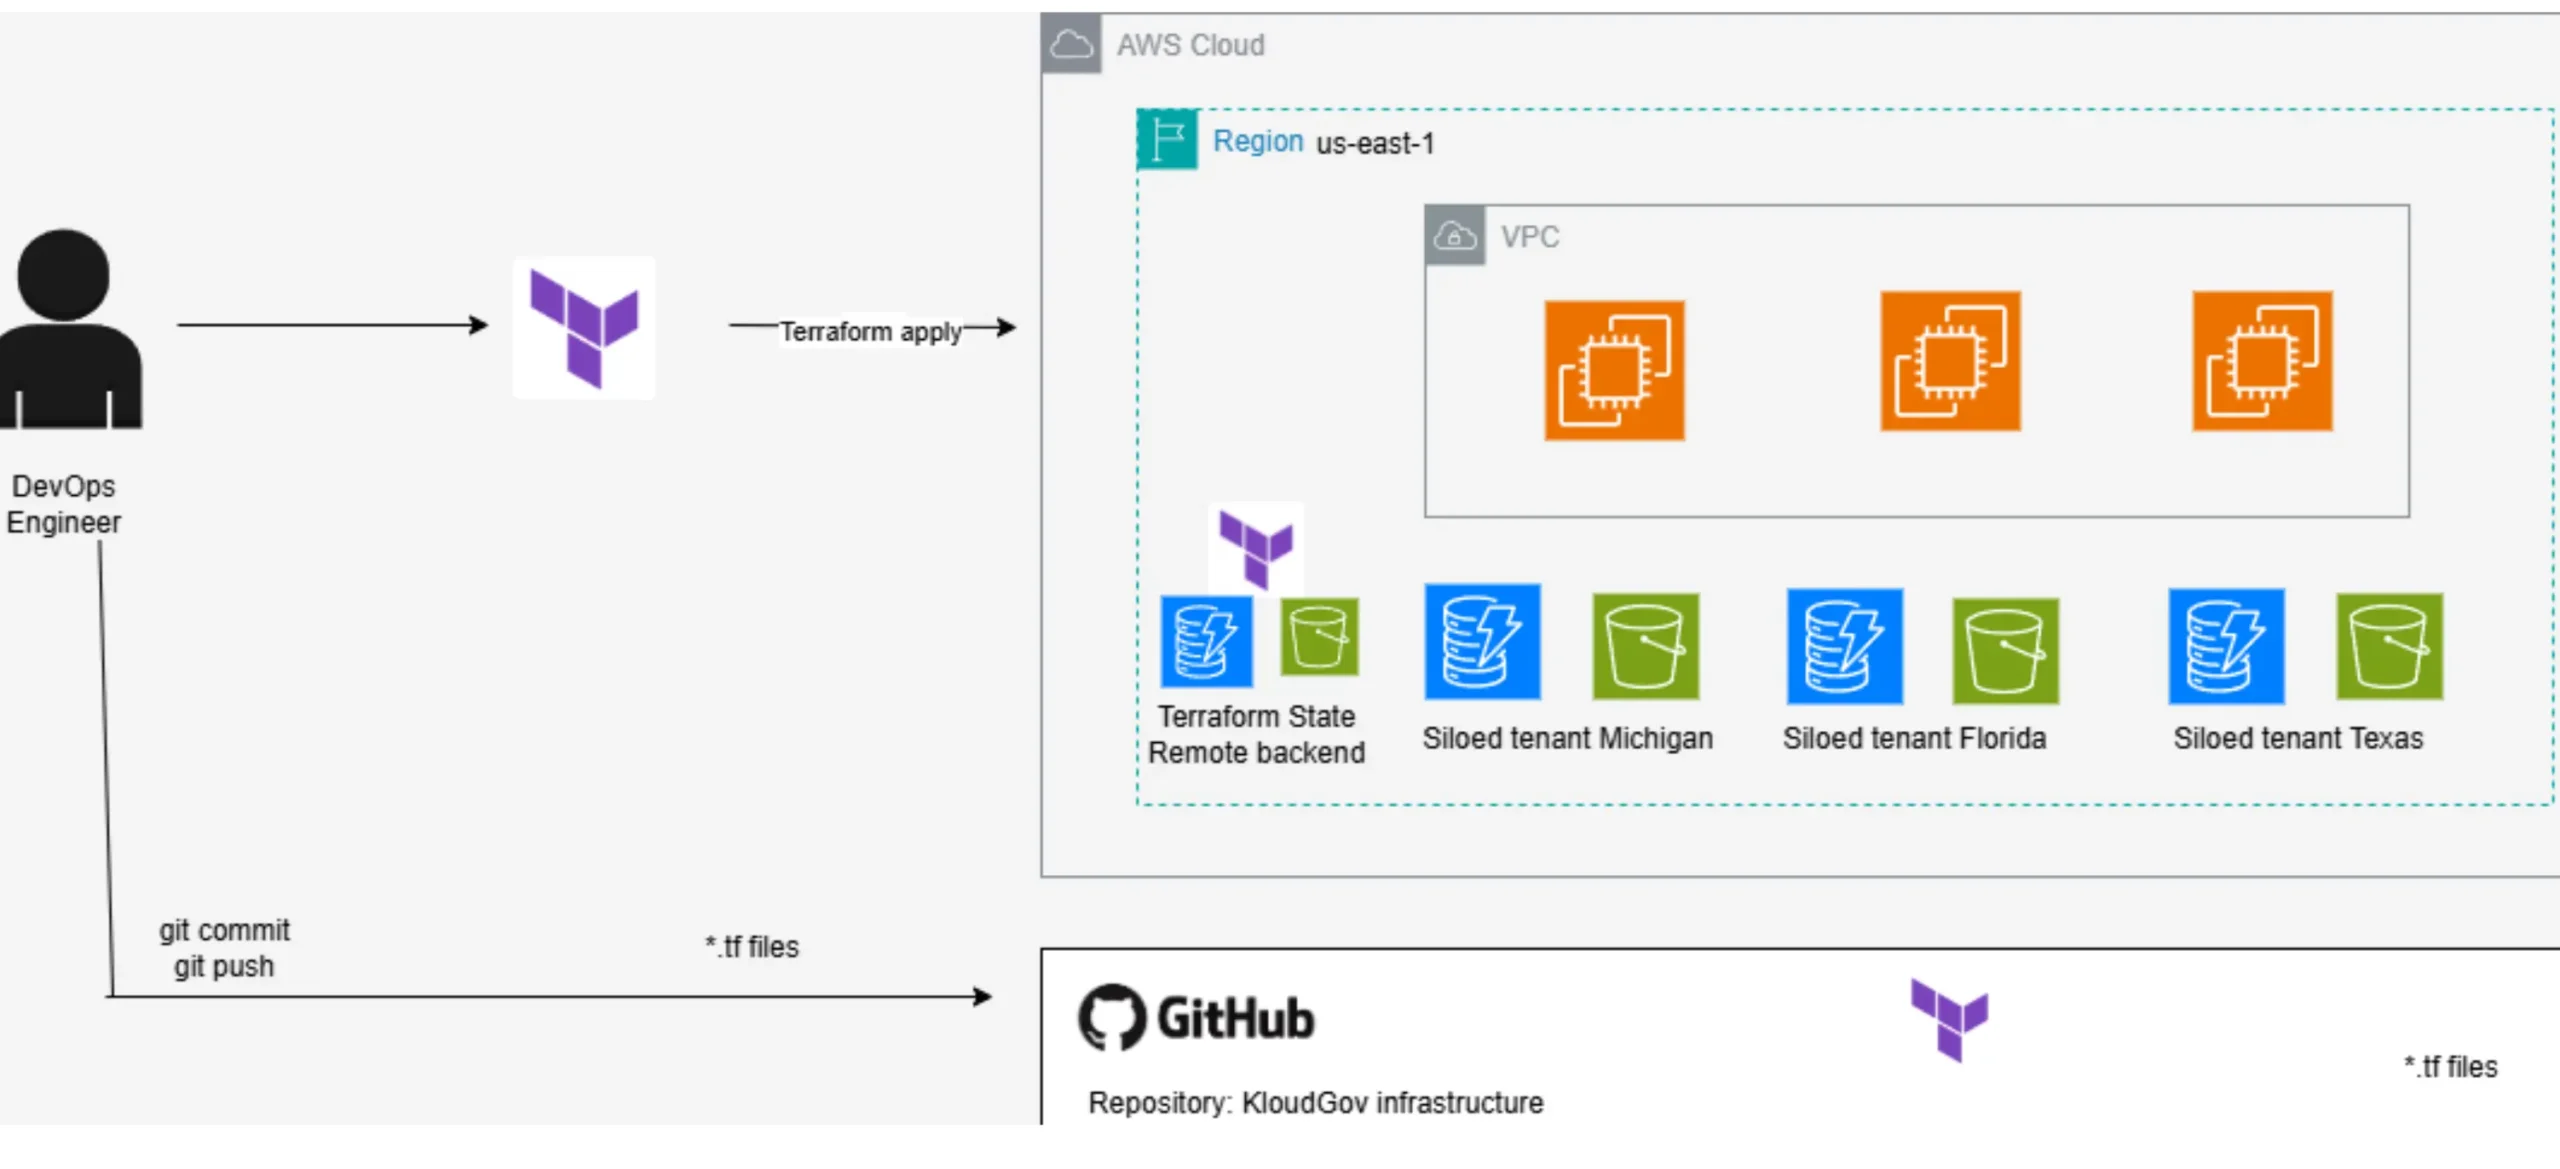
In Part 1 of this series, I built a reusable Terraform module structure to provision multi-tenant AWS infrastructure, including EC2 instances, DynamoDB tables, and S3 buckets, all dynamically generated from a single module. But there’s a critical gap in that setup that becomes obvious the moment more than one person touches the project: where does the Terraform state file live?
By default, Terraform stores state locally in a terraform .tfstate file on the machine that ran terraform apply. That’s fine for solo experimentation. It’s a serious liability for anything resembling a real team or production environment: no shared visibility, no locking, no protection if that local file gets corrupted or lost.
This post walks through Part 2 of the KloudGov project: configuring a secure, remote backend for the Terraform state file, using an S3 bucket for storage and a DynamoDB table for state locking and concurrency control.
Why the Local State File Is a Problem
Before jumping into the setup, it’s worth being explicit about what’s actually at risk with local state:
- No collaboration — if state lives on one engineer’s machine, nobody else can safely terraform apply without risking conflicting changes.
- No locking — two people running Terraform at the same time against the same local state can corrupt it or produce inconsistent infrastructure.
- No durability — a lost laptop or a deleted file means losing the single source of truth for your entire infrastructure.
- No audit trail — there’s no visibility into who changed what, or when.
Moving the state file to a remote backend solves all four problems at once, which is exactly why this step is non-negotiable for any team using Terraform beyond a personal sandbox.

The Remote Backend Architecture
The approach here uses two AWS services working together:
- An S3 bucket — stores the actual terraform .tfstate file remotely, encrypted, and durable by default thanks to S3’s built-in redundancy.
- A DynamoDB table — handles state locking. When someone runs terraform apply, Terraform writes a lock entry to this table, preventing anyone else from running a conflicting operation until the first one finishes.
Together, this gives you a backend that’s secure, collaborative, and safe for concurrent use across a team, which is exactly what production-grade infrastructure as code requires.
Step 1: Creating a Bucket to Store Terraform State
Start by creating a new S3 bucket dedicated to storing the state file. Bucket names must be globally unique across all of AWS, so choose something specific to your project:
aws s3api create-bucket --bucket your-unique-state-bucket-name --region us-east-1
For this project, the bucket was created as:
aws s3api create-bucket --bucket kb-devops-state-hsp --region us-east-1
Confirm the bucket exists and inspect its contents:
aws s3 ls
aws s3 ls s3://kb-devops-state-hsp
At this point, the bucket exists but is empty; no state file has been written to it yet. That happens later, once the backend is wired up and Terraform runs init and apply against it.
Step 2: Creating a DynamoDB Table for Concurrency Control
Next, create the DynamoDB table that will handle state locking. This table needs exactly one attribute, a LockID, which Terraform uses internally to manage locks:
aws dynamodb create-table --table-name kloudgov-terraform-state-lock-table \
--attribute-definitions AttributeName=LockID,AttributeType=S \
--key-schema AttributeName=LockID,KeyType=HASH \
--provisioned-throughput ReadCapacityUnits=5,WriteCapacityUnits=5 \
--region us-east-1
Verify the table was created successfully:
aws dynamodb list-tables
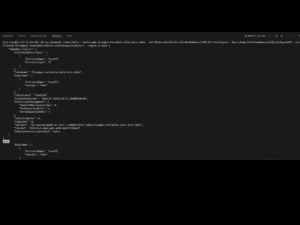
This table doesn’t store your actual infrastructure data; it exists purely as a locking mechanism. When Terraform starts an operation, it writes a lock record here; when the operation finishes, the lock is released. If a second apply attempt to run while a lock is held, Terraform blocks it and warns you, rather than letting two operations collide and corrupt your state.
Step 3: Creating the Backend Configuration File
With both the bucket and the lock table in place, it’s time to tell Terraform actually to use them. In your project’s root directory:
pwd # /home/ec2-user/kloud-gov-infrastructure/terraform
touch backend.tf
Edit backend.tf with the following configuration, replacing the bucket name with the one you created:
terraform {
  backend "s3" {
    bucket         = "your-unique-state-bucket-name"
    key            = "terraform.tfstate"
    region         = "us-east-1"
    encrypt        = true
    dynamodb_table = "kloudgov-terraform-state-lock-table"
  }
}
A quick breakdown of what each setting does:
- bucket — the S3 bucket where the state file will be stored.
- key — the path/filename of the state file within the bucket (here, terraform.tfstate ).
- region — the AWS region the bucket lives in.
- encrypt — ensures the state file is encrypted at rest in S3. Since state files can contain sensitive data (resource IDs, sometimes even secrets), this isn’t optional — it’s a baseline security requirement.
- dynamodb_table — points Terraform to the lock table created in Step 2, enabling state locking during operations.
Step 4: Initializing Terraform with the New Backend
With backend.tf in place, reinitialize Terraform so it picks up the new remote backend:
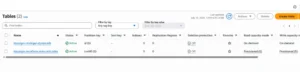
terraform init
You should see output confirming the migration:
Initializing the backend...
Successfully configured the backend "s3"! Terraform will automatically
use this backend unless the backend configuration changes.
Note that no confirmation prompt appears here if there are no existing resources tracked in the local state file; in other words, this is a clean initialization rather than a migration of existing state. If you were migrating an existing project with resources already tracked locally, Terraform would prompt you to confirm copying that state into the new S3 backend.
Step 5: Applying Changes Against the Remote Backend
To confirm the backend is fully functional, scale the configuration down to a single tenant for this test. No need to provision three full stacks to validate the backend:
variable "states" {
  description = "A list of state names"
  default     = ["michigan"]
}
Then run the standard plan and apply:
terraform plan
terraform apply # DynamoDB | Table | Explorer Items
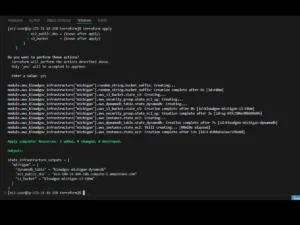
While apply is running, if you check the DynamoDB table in the AWS console under Explorer Items, you’ll see a lock entry appear temporarily, direct proof that the locking mechanism is active and doing its job.
Step 6: Validating State File Creation in the Bucket
Once the apply completes, confirm that Terraform actually wrote the state file to your S3 bucket:
aws s3 ls s3://your-unique-state-bucket-name
aws s3 ls s3://kb-devops-mod3-state-hsp
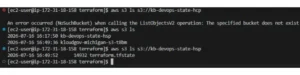
You should now see terraform.tfstate listed inside the bucket. This is your confirmation that the remote backend is in a fully operational state and is no longer sitting on a single local machine; it’s centralized, encrypted, and protected by locking.
Step 7: Cleaning Up
Since this is a validation exercise, tear down the test resources once you’ve confirmed everything works:
terraform destroy
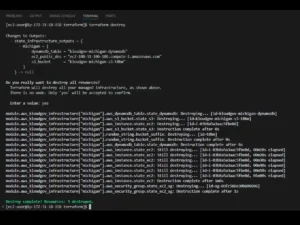
Step 8: Stopping EC2/IDE
As always, don’t forget the last step: Stop your EC2 instance once you’re finished, to avoid unnecessary compute costs.
Why This Step Matters
It’s tempting to treat backend configuration as a formality, a box to check before moving on to “real” infrastructure work. In practice, it’s one of the most important decisions in any Terraform project. The state file is the source of truth for everything Terraform manages. If it’s lost, corrupted, or edited by two people simultaneously, you’re not just dealing with an inconvenience; you’re potentially looking at orphaned resources, failed applies, or infrastructure drift that takes hours to untangle.
Storing state in S3 with DynamoDB-backed locking solves this with minimal overhead: a bucket, a table, and a handful of lines in backend.tf. From this point forward, every engineer on the team works against the same state, with built-in protection against concurrent changes.
Key Takeaways
- Local Terraform state is fine for solo experimentation, but unsafe for any team or production workload.
- An S3 backend gives you durable, encrypted, centralized storage for the state file.
- A DynamoDB table with a LockID hash key provides concurrency control, preventing simultaneous operations from corrupting state.
- The backend.tf file is small, but it’s one of the highest-leverage files in any serious Terraform project.
- Always validate that the state file actually lands in the bucket after apply; don’t just assume the backend is working.
With secure, remote state management now in place, the KloudGov infrastructure is ready for real collaboration. In Part 3, we’ll build on this foundation by automating the entire workflow, turning this manual process into a repeatable, production-ready pipeline.

