
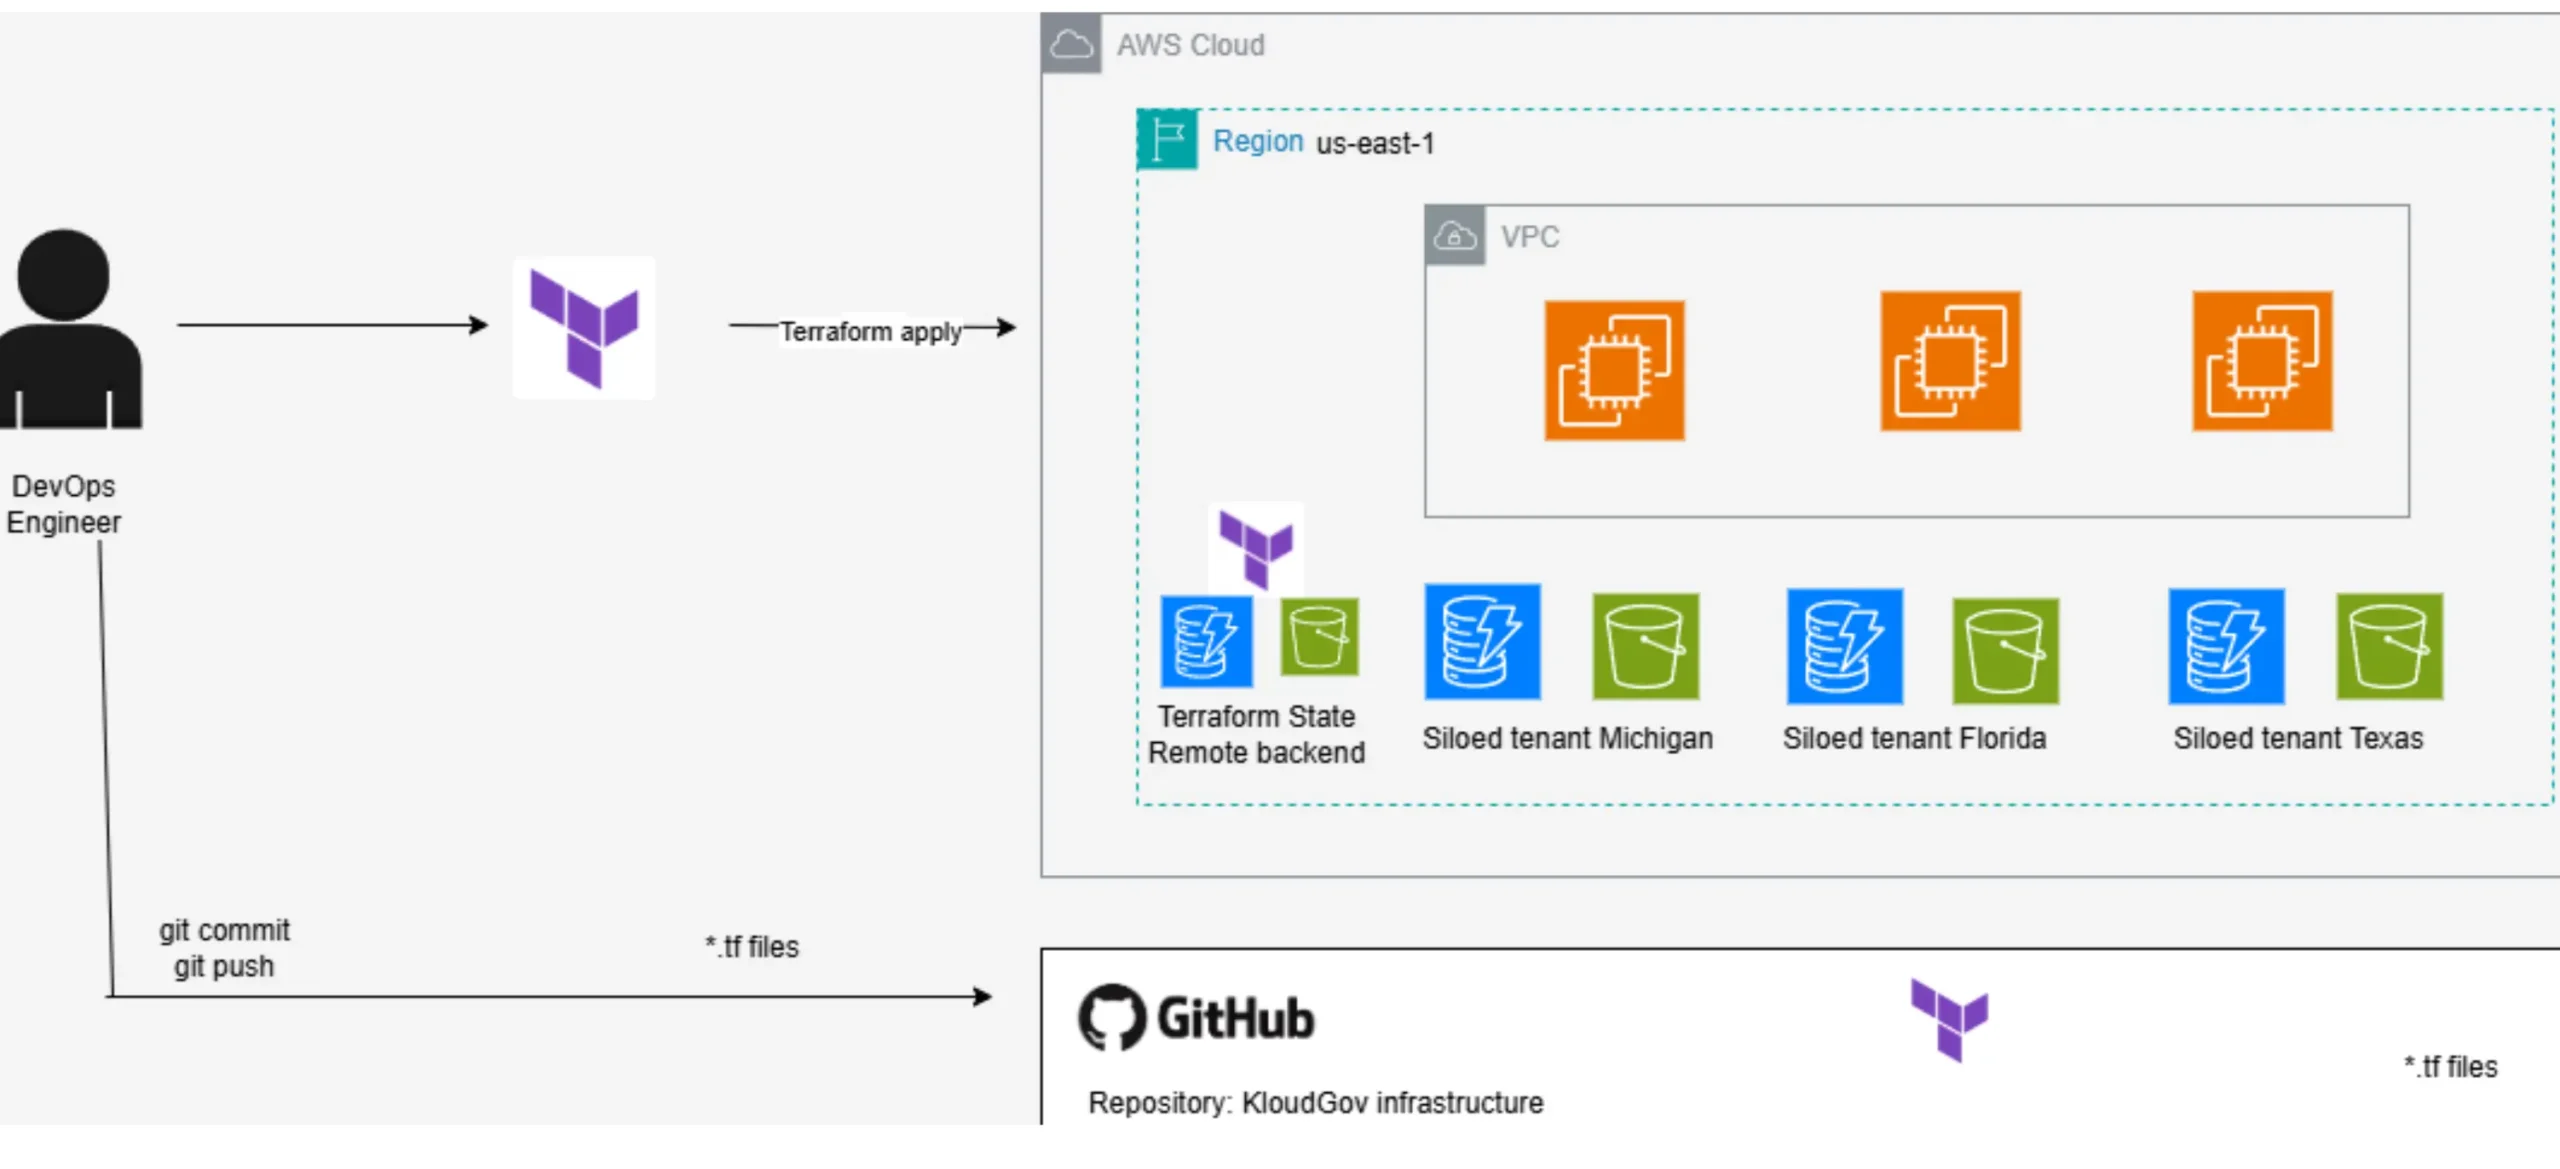
One of the biggest mistakes teams make when adopting Infrastructure as Code is treating Terraform as a single monolithic script rather than a modular system. It works fine for a handful of resources, but the moment you need to replicate infrastructure across multiple tenants, regions, or environments, that approach falls apart fast.
This post is Part 1 of a three-part series where I design and deploy a reusable, multi-tenant SaaS infrastructure on AWS using Terraform modules. The project called KloudGov provisions infrastructure built on EC2 instances, DynamoDB tables, and S3 buckets, structured so that a single module can be reused to spin up isolated infrastructure for any number of tenants, with almost no duplicated code.
In this first part, the focus is entirely on creating the structure of Terraform modules, the foundation on which everything else in this series will build.
Why Modular Terraform Matters for Multi-Tenant SaaS
If you’re building infrastructure for a single application, a flat Terraform configuration might be manageable. But multi-tenant SaaS is a different problem entirely. Each tenant may need its own EC2 instance, its own database, its own storage bucket, all following the same pattern, just with different names and identifiers.
Writing that by hand for every tenant is not just tedious; it’s a maintenance nightmare. Terraform modules solve this by letting you define the infrastructure pattern once and reuse it dynamically for as many tenants as you need, in this case, U.S. states acting as tenant identifiers.
This is exactly the structure we’ll build in this post: a reusable module that provisions a full infrastructure stack per state, driven entirely by a variable.
Prerequisites
Before touching any Terraform code, there’s one setup step to handle:
Create an SSH key: kloudgov-ec2-key (.pem format). This key enables secure access to the EC2 instances Terraform will provision.
If you’re working from Windows and connecting VS Code to EC2 remotely, there’s a helper batch script available here: ec2-ssh-config-updater. The setup is quick:
Create a .bat file in C:\Users\%username%\.ssh.
Copy the script from the GitHub repo into that file and save it.
Run the .bat file and enter the EC2 instance’s public IP address when prompted.
Open VS Code, then launch Remote Explorer (Ctrl+Shift+P) to connect.
With SSH access sorted, it’s time to build the module structure.
Step 1: Creating the Module File Structure
Assuming your GitHub repositories are already created and synced with your IDE, navigate into the infrastructure repository:
cd kloud-gov-infrastructure
Create a root directory to hold all Terraform files:
mkdir terraform
Inside it, create a dedicated directory for the module itself:
cd terraform
mkdir -p modules/aws_kloudgov_infrastructure
ls
This nested structure a terraform/ root with a modules/ subdirectory is a deliberate choice. It cleanly separates reusable module logic from the root configuration that consumes it, which becomes essential as the project grows in Parts 2 and 3.
Inside the module directory, create three empty files that will define the module’s behavior:
cd modules/aws_kloudgov_infrastructure
touch variables.tf main.tf outputs.tf
These three files follow a convention you’ll see in almost every well-structured Terraform module:
variables.tf — defines the inputs the module accepts.
main.tf — defines the actual resources to provision.
outputs.tf — defines what values the module exposes after provisioning.
Step 2: Creating the Module Configuration Files
variables.tf
The module needs exactly one input to make it reusable: the tenant identifier, represented here as a U.S. state name.
variable "state_name" {
  description = "The name of the US State"
}
This single variable is what turns a static configuration into a dynamic, repeatable module. Every resource inside main.tf will reference var.state_name to generate unique, tenant-specific names.
main.tf
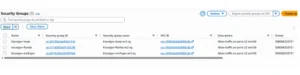
This file defines the actual infrastructure the module provisions: a security group, an EC2 instance, a DynamoDB table, and an S3 bucket, all scoped to a single tenant.
resource "aws_security_group" "state_ec2_sg" {
  name        = "kloudgov-${var.state_name}-ec2-sg"
  description = "Allow traffic on ports 22 and 80"

  ingress {
    from_port   = 22
    to_port     = 22
    protocol    = "tcp"
    cidr_blocks = ["0.0.0.0/0"]
  }

  ingress {
    from_port   = 80
    to_port     = 80
    protocol    = "tcp"
    cidr_blocks = ["0.0.0.0/0"]
  }

  tags = {
    Name = "kloudgov-${var.state_name}"
  }
}

resource "aws_instance" "state_ec2" {
  ami                    = "ami-01edba92f9036f76e" # Use this validated image!
  instance_type          = "t3.micro"
  key_name               = "kloudgov-ec2-key"
  vpc_security_group_ids = [aws_security_group.state_ec2_sg.id]

  tags = {
    Name = "kloudgov-${var.state_name}"
  }
}

resource "aws_dynamodb_table" "state_dynamodb" {
  name         = "kloudgov-${var.state_name}-dynamodb"
  billing_mode = "PAY_PER_REQUEST"
  hash_key     = "id" # Primary Key

  attribute {
    name = "id"
    type = "S" # String
  }

  tags = {
    Name = "kloudgov-${var.state_name}"
  }
}

resource "random_string" "bucket_suffix" {
  length  = 4
  special = false
  upper   = false
}

resource "aws_s3_bucket" "state_s3" {
  bucket = "kloudgov-${var.state_name}-s3-${random_string.bucket_suffix.result}"

  tags = {
    Name = "kloudgov-${var.state_name}"
  }
}
A few design decisions worth calling out here:
- Naming convention: Every resource name is prefixed with kloudgov-${var.state_name}, which guarantees uniqueness across tenants and makes resources instantly identifiable in the AWS console.
- random_string for the S3 bucket suffix: S3 bucket names must be globally unique across all AWS accounts, not just your own. Appending a random 4-character string avoids naming collisions without requiring manual intervention.
- Security group scope: Ports 22 and 80 are opened for SSH access and HTTP traffic, respectively, reasonable for a PoC, though production environments should scope cidr_blocks far more tightly.
outputs.tf
Finally, the module needs to expose key information about what it created, so the root configuration (and future automation) can reference it:
output "state_ec2_public_dns" {
  value = aws_instance.state_ec2.public_dns
}

output "state_dynamodb_table" {
  value = aws_dynamodb_table.state_dynamodb.name
}

output "state_s3_bucket" {
  value = aws_s3_bucket.state_s3.bucket
}
With these three files in place, the module is fully self-contained; it can be dropped into any Terraform project and reused simply by supplying a state_name.
Step 3: Creating the Root Folder Configuration Files
With the module built, the next step is creating the root configuration that actually consumes it. This lives one level up, directly inside the terraform/ folder, not inside the module directory.
variables.tf (root)
variable "states" {
  description = "A list of state names"
  default     = ["michigan", "florida", "texas"]
}
This list represents our tenants. In this PoC, each “state” simulates a distinct tenant that needs its own isolated infrastructure stack.
main.tf (root)
provider "aws" {
  region = "us-east-1"
}

module "aws_kloudgov_infrastructure" {
  source     = "./modules/aws_kloudgov_infrastructure"
  for_each   = toset(var.states)
  state_name = each.value
}
This is where the modular design pays off. Two arguments make the multi-tenant pattern possible:
- for_each = toset(var.states) — for_each allows Terraform to create one instance of the module per item in a collection. The toset() function converts the states list into a set (a collection of unique values), which is required for for_each to work with modules.
- state_name = each.value — Within the loop, each. value represents the current item being processed. So on each iteration, the current state name is passed into the module as its state_name input.
The result: three complete infrastructure stacks, one each for Michigan, Florida, and Texas, generated from a single module definition, with zero copy-pasted resource blocks.
outputs.tf (root)
output "state_infrastructure_outputs" {
  value = {
    for state, infrastructure in module.aws_kloudgov_infrastructure :
    state => {
      ec2_public_dns = infrastructure.state_ec2_public_dns
      dynamodb_table = infrastructure.state_dynamodb_table
      s3_bucket      = infrastructure.state_s3_bucket
    }
  }
}
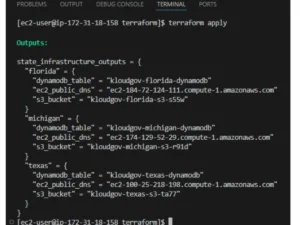
This output uses a for expression to loop over every instance created by the module:
- state — the name of the tenant (e.g., “texas”).
- infrastructure — the set of outputs associated with that tenant (EC2 public DNS, DynamoDB table name, S3 bucket name).
The result is a single, well-organized map where each tenant’s infrastructure details are neatly keyed by name, extremely useful for scripting, monitoring, or feeding into a later automation step.
Step 4: Running Terraform
With the module and root configuration complete, it’s time to provision the infrastructure:
terraform fmt
terraform init
terraform validate
terraform plan   # 15 to add (3 states × 5 resources = 15)
terraform apply
That terraform plan output of 15 resources to add is a good sanity check. With 3 states and 5 resources per module (security group, EC2 instance, DynamoDB table, random string, and S3 bucket), the math should always confirm the module is behaving as expected before you apply anything.
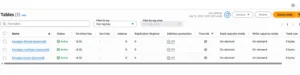
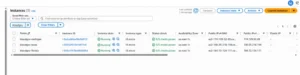
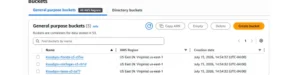
Once applied, validate the results directly in the AWS Console: check EC2, DynamoDB, and S3 to confirm three fully isolated infrastructure stacks now exist, one per tenant.
Step 5: Tearing It Down
Since this is a PoC, don’t leave resources running longer than necessary:
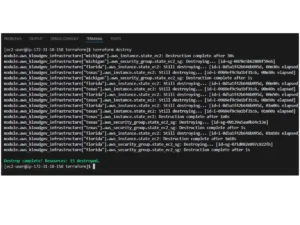
terraform destroy
Step 6: Stop Your EC2/IDE Instance
As always, the last step is the easiest one to forget: stop your EC2 instance once you’re done to avoid unnecessary compute charges.
Key Takeaways
- Terraform modules turn repetitive infrastructure patterns into a single, reusable definition critical for any multi-tenant SaaS architecture.
- Separating modules/ from the root configuration keeps reusable logic isolated from environment-specific consumption.
- for_each combined with toset() lets you provision infrastructure for an entire list of tenants without duplicating a single resource block.
- Structured outputs (using for expressions) make it easy to consume infrastructure details programmatically across dozens of tenants at once.
This module structure is the foundation for the rest of the KloudGov series. In Part 2, we’ll build on this by introducing remote state management to securely store and share Terraform state across a team followed by Part 3, where we’ll layer in automation to make this entire workflow repeatable and production-ready.

